
Recipe
Canvas and tote melt
Tips for crisp DTF transfers on bags that need more bite than a fashion tee.
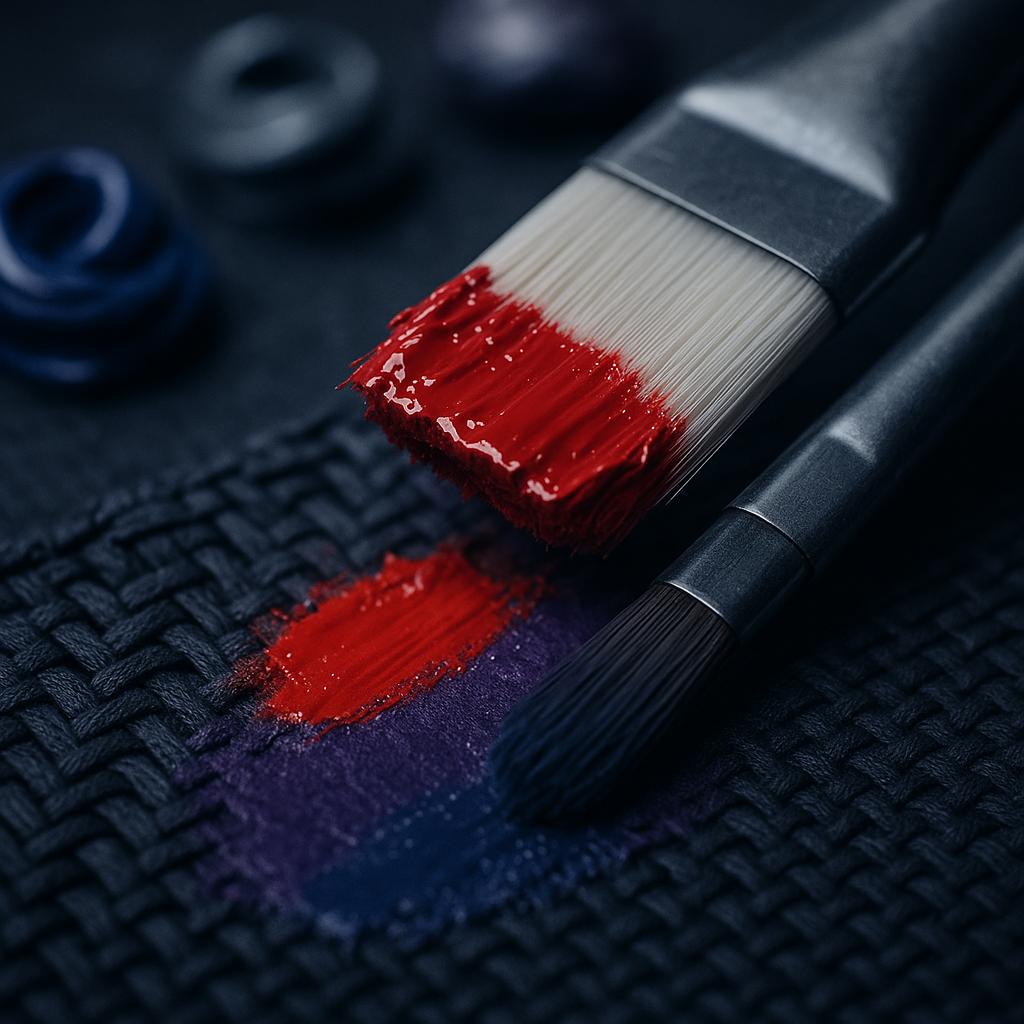
Working with totes and canvas bags is a different beast to running off prints for soft tees. I often get asked how to set up the powder window and pick the right powder and peel for these heavier items. Here’s my practical approach for tough cotton tote bags where a fine tee-grade result just won’t last.
Choosing the right powder and film for heavy fabrics
Cotton canvas bags and most promo totes are much heavier and more textured than a standard t-shirt. For these, I reach for our tougher workwear-grade TPU powder. The coarser particles dig in better, which means the print stands up to stress and the extra abrasion from daily use. Standard white powder will do for most cottons, but swap to black powder on coloured or dyed polyester blends to help stop dye migration.
For film, a double-matte cold-peel gives the best hold and a cleaner edge around your design. Hot peel can work, but on thick canvas you risk lifting fibres unless you get your timings spot-on. Store your film flat or hanging to prevent curl, and keep it sealed up, dust on the bag or the film means powder sticks where it shouldn’t and you get rough windows around the print.
Setting up your powder window to match the artwork
A powder window is the exposed area of adhesive powder that melts onto the fabric around your design. On totes, these windows show up worse than on dark tees, so it pays to set up your artwork carefully. Choke your white underbase and colour layers by 0.2 to 0.5 mm inside the edge of the design, so the powdered film doesn’t create a thick halo. Avoid soft fades and drop-shadows unless you’re happy to live with a powdery edge.
If you have to do fine detail or floating text, do a small test print and check how much powder creeps out past the ink. A sticky lint roller is your friend before powdering, run it over both the print bed and the tote to pick up stray fibres and dust.
- Choke artwork edges by 0.2 to 0.5 mm inside
- Prefer solid shapes over fades for less visible powder
- Lint-roll tote and print bed before laydown
Dialling in press times and peel technique on canvas
Canvas and thick cotton act like a heat sink, so your usual tee settings often leave the transfer under-cured or with patchy adhesion. Pre-press the tote for 5 seconds to flatten seams and remove moisture. For pressing, start at 155 to 165 degrees C, 15 to 18 seconds, with firm pressure. If the tote has heavy seams or double layers, use a Teflon pad underneath so the transfer area sits flat and makes good contact.
On cold-peel film, let the print cool right down. Rushing this gives you cracked edges or half-lifted powder. Peel low and slow, close to the surface, and spot-check for any powdery or shiny patches that mean the powder didn’t melt fully.
Washing and handling checks before a big order ships
Wash testing on canvas is crucial, especially with promo bags that get rough handling. Wash a tote inside out at the same temp as the care label and check for flaking or edge lift. Its a good idea to do a scratch test too: blunt fingernail rub on the edge of the print after pressing shows if the powder window is too thick or if you’ve under-cured.
Finally, go over the finished transfer with a Teflon sheet for 8 to 10 seconds to lock in the powder and smooth out surface texture. If you spot any rough halos, run a lint-free wipe around the design edge to knock off stray powder before delivery.

Powder and film specialist at DTF Ink. Kevashan knows his way around DTF powders, film peels and the quirks of coastal print rooms.

Talk to DTF Ink
Tell us about your printer, film, powder and press settings and our team will help you get repeatable transfers. Meadowdale lab in Germiston, plus seven studios.