Recipe
Sample day checklist for client demos
Before a client walks in for sample day, set out pressed swatches, garment blanks, a price sheet and a few finished transfers on the table.
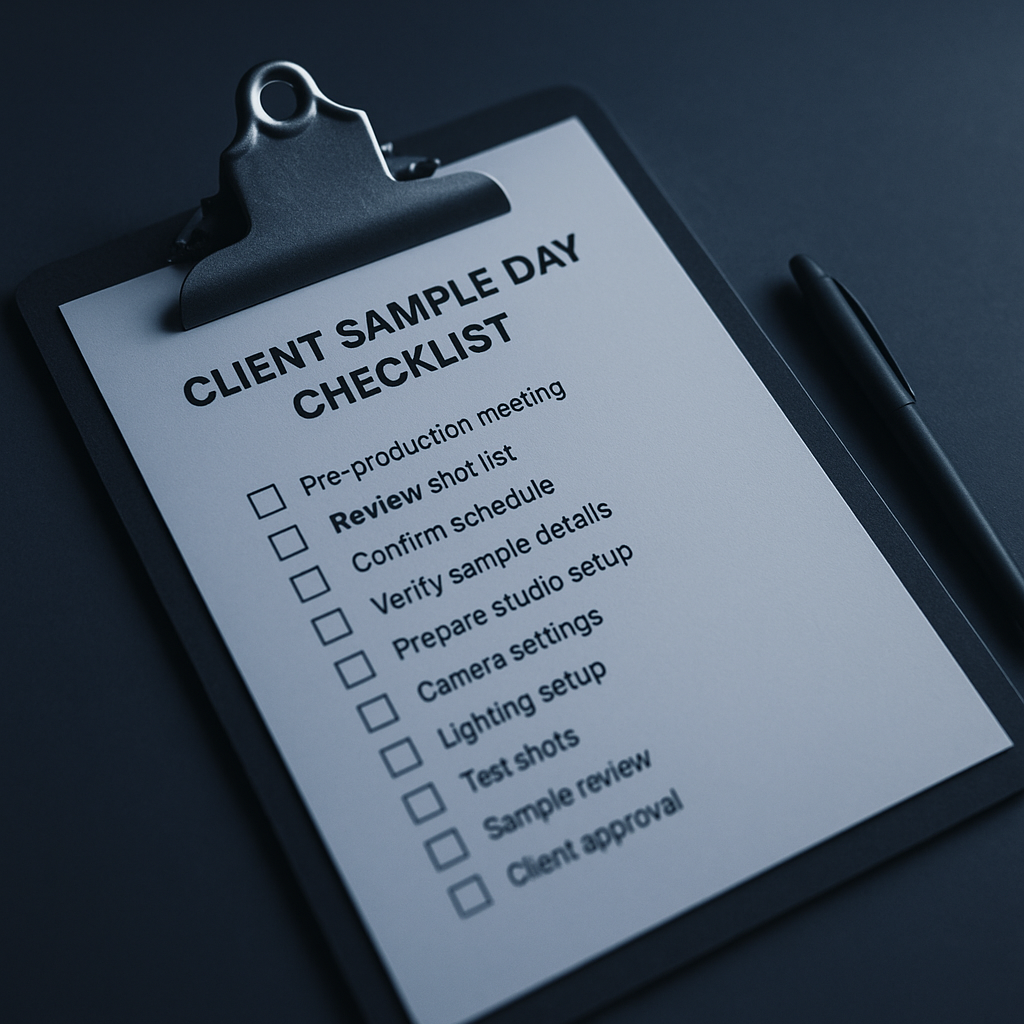
As someone who hosts clients in our studios and the Meadowdale lab, I’ve learned that a smooth demo day starts with a checklist written the day before. You want to show both the results and your process, and that means being prepared right down to the last lint-free wipe. Here’s my personal checklist for sample days, adapted for real Joburg and Durban print rooms.
Prep your printer and inks before arrival
Always start your day with a nozzle check and, if you have it, a white ink circulation cycle. DTF white pigment settles quickly, especially if the machine has stood overnight or after a power cut. Don’t risk patchy underbases in front of a client, agitate the white ink bottle and lines every shift, and run your nozzle test strip on an offcut of film. Clean the capping station if needed. I keep a small mirror handy to check under the print head for dried ink or stray fibres that love to build up in Highveld winters.
Top up your ink tanks with DTF Ink’s CMYK and white as needed, using clean syringes or funnels. Check the waste tank level, as sample days tend to see more head cleans and test prints than usual. Wipe down the platen and film guides to avoid stray specks landing in a demo print, a single dust mark can ruin your sample.
If you’re running the demo on a small-format printer, power it on at least half an hour early. This gives the white ink time to settle fully and lets you spot any streaks that need flushing before anyone else is watching.
Lay out your consumables and tools
Set the table with everything you’ll need for a full DTF workflow: PET transfer film in both A3 sheets and a roll, your chosen TPU powder (soft-grade and workwear if you’re demoing on both t-shirts and hoodies), and a pair of gloves and dust mask for safe powdering. Have a Teflon sheet and parchment paper ready for the finishing press. Put out a set of lint-free wipes, tweezers for stray fibres, and a soft brush to sweep film if needed.
Clients will want to touch and compare, so label your sample swatches with the film and powder type, and sort cured versus uncured prints. Keep a clean tray or box for finished samples to avoid accidental creasing. If you use a curing oven, double check it’s warmed up and free of old powder spills.
- PET film (roll and A3 sheets, hot and cold peel)
- Soft and workwear TPU powder
- Gloves, dust mask, lint-free wipes, tweezers
- Teflon sheet and parchment
- Clean tray for finished samples
Control your environment for consistency
A stable print room beats any software setting. Aim for 45 to 60 percent relative humidity and 20 to 25 degrees C. I use an affordable hygrometer, especially in winter when heaters dry the air, making nozzles clog and static attract powder to your arms and face instead of the film. If it’s a humid Durban morning, watch for powder clumping and extend your curing time on the oven by 20 to 30 seconds as a starting point.
Check the press platen temperature with an infrared thermometer, it’s easy to forget, but cold corners mean uneven transfers. Pre-press every shirt for 2 to 5 seconds to flatten and drive out moisture, and set your press to 150 to 165 degrees C for cotton, or 125 to 140 degrees C for polyester. If you forget this step, you’ll see steam bubbles or uneven adhesion in your first pulls.
Plan your demo workflow and sample picks
Clients want to see the process from print to peel. Line up a few different garment types, cotton t-shirts, a polo for uniform clients, maybe a canvas tote or cap panel. Have pre-printed films on hand to skip ahead if the print cycle is slow. When powdering by hand, shake off excess well over a tray, and wear gloves and a dust mask, we’ve all had a day where someone forgot, and you end up sneezing powder for an hour.
Let the client do a peel themselves if possible. Explain the difference between hot peel and cold peel films, and let them feel the result. After the first press, give a quick 5 to 10 second finishing press with Teflon for durability. Always have a sample ready to wash-test with the client if there’s time, most are surprised how much a finishing press and cool peel improve the feel and wash resistance.

Showroom and demo host at DTF Ink. Books Meadowdale demos and mall studio hours; helps print shops get the right DTF consumables.
Talk to DTF Ink
Tell us about your printer, film, powder and press settings and our team will help you get repeatable transfers. Meadowdale lab in Germiston, plus seven studios.