
CMYK+White Pro
Using CMYK+White Pro
Print, cure, press, Pro ink runs smoothly every step.
How CMYK+White Pro moves through the DTF workflow
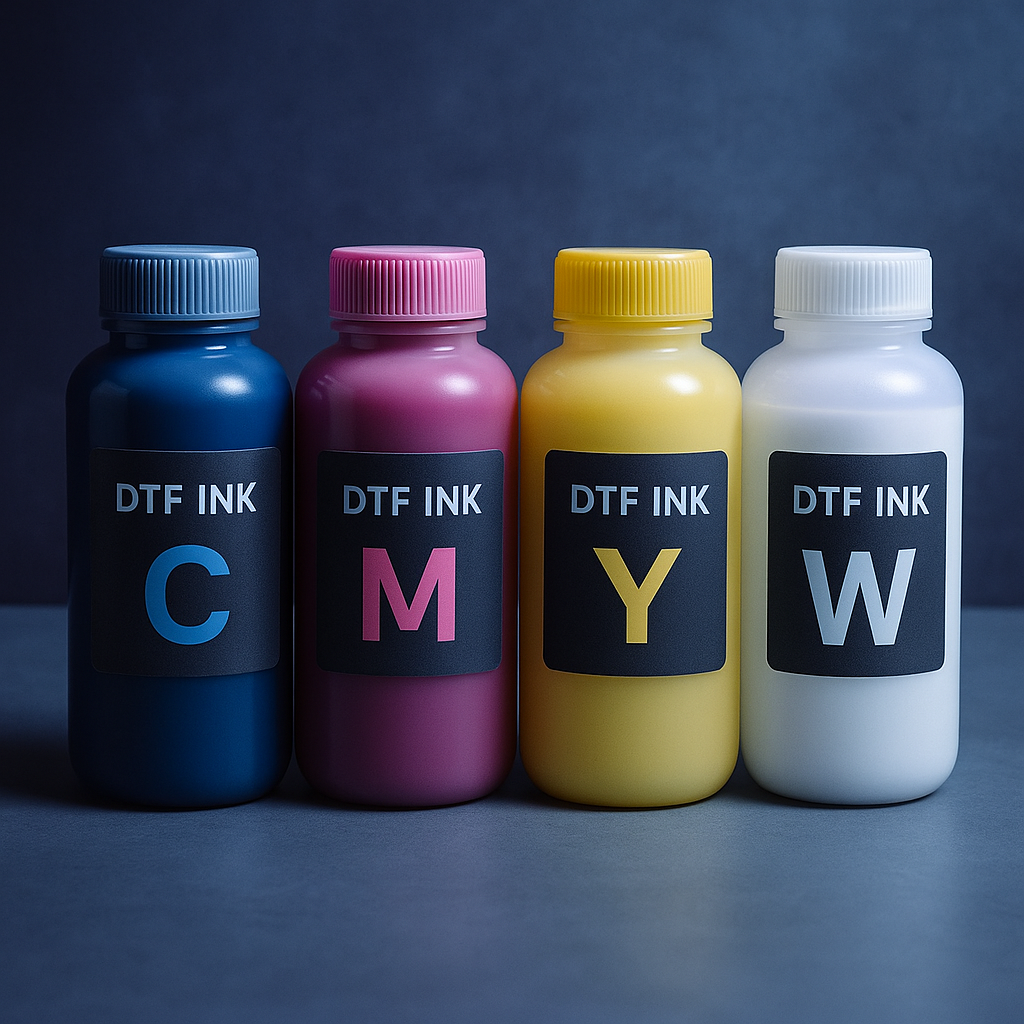
Start by giving the white ink a good shake, or running your printer’s white circulation routine, settling is normal. Load all five bottles, run a nozzle check, and start your print on PET film. The Pro set’s even flow helps avoid head clogs and banding. After printing, apply TPU powder, cure either in an oven (2 to 3 minutes at 110 to 120 degrees C) or hover under a press (140 to 150 degrees C, 4 to 7 mm gap, 3 to 5 minutes). Press transfers at the recommended temperature for your fabric, checking that the white has fused cleanly.
Typical starting settings for common garments
Use these as starting points and adjust for your film, powder, and garment combo:
• Cotton: 150 to 165 degrees C, 10 to 15 seconds, medium-firm pressure
• Polyester: 125 to 140 degrees C, 10 to 12 seconds, cold peel
• Pre-press garments 2 to 5 seconds to flatten and remove moisture
Check your platen heat with an infrared thermometer for cold spots.
- Agitate white ink daily or every shift
- Run nozzle check before every production run
- Store bottles upright, cap tight
- Flush lines if left standing for days
Common mistakes and what to check first
If you spot weak or patchy white, the most common culprits are settled pigment or a blocked nozzle, give the bottle a hearty shake and re-run the nozzle check. Smudged prints often mean too much humidity or handling the film before it’s dry. Powder that won’t stick usually points to film stored open in the bay or humidity too low. If you have to pause for a power cut or outage, cap the head and, on restart, run white circulation again before the next job.
Customer reviews
What our DTF Ink customers say
Verified Google reviews

Talk to DTF Ink
Tell us about your printer, film, powder and press settings and our team will help you get repeatable transfers. Meadowdale lab in Germiston, plus seven studios.