RIP Colour Pack
Using RIP Colour Pack
Load a tested starting profile and print with confidence.
How to use the RIP Colour Pack in your workflow
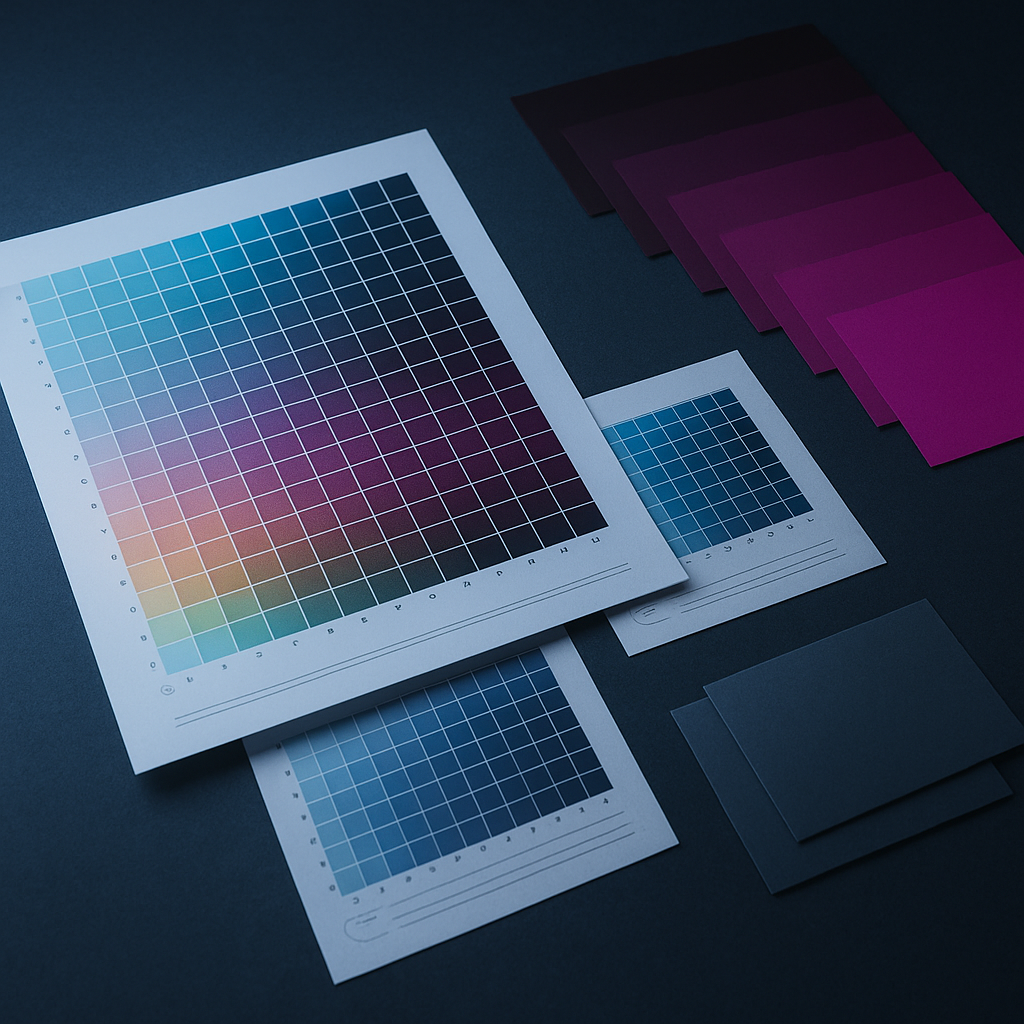
Start by loading the matching ICC profile and underbase curve for your ink and film in your RIP software. Use the process notes to set your ink limits, white underbase and print order. Print a test image on your DTF Ink PET film, apply the right powder, cure as per the notes, and press onto your test garment. The pack includes typical starting points for cotton, poly, hot peel and cold peel, follow these and adjust only if you see banding, weak white, or muddy colour. Always run a nozzle check before your first test print, especially if you've just had a power cut or a long weekend. It’s a simple extra step that saves a lot of reprints.
Starting points for print, powder and press
Here are typical starting points from the pack:
• Print: 720 x 1800 dpi, medium ink density
• Powder: Soft hand for tees, workwear grade for heavy poly
• Cure: 3 minutes at 120 degrees C in oven, or hover at 150 degrees C for 5 minutes
• Press: Cotton 160 degrees C, 15 seconds, medium pressure; Polyester 135 degrees C, 12 seconds, cold peel
Always check your film and powder specs before a big run.
Common mistakes and what to watch for
Most issues we see are from using the wrong profile for the ink or film, not agitating white ink daily, or skipping the nozzle check. Running a cotton profile on polyester often leads to dye bleed or a scorched look. If prints look dull, check you haven't missed the underbase or loaded a profile for another ink set. And dont forget to record what profile and settings you used for your best results, it makes troubleshooting so much faster next time.
Related press workflows and recipes
Customer reviews
What our DTF Ink customers say
Verified Google reviews
Talk to DTF Ink
Tell us about your printer, film, powder and press settings and our team will help you get repeatable transfers. Meadowdale lab in Germiston, plus seven studios.